I cut the rear frame as marked and welded the rear pivot plate. The plate distorted. The front pivot plate had also distorted when welded before. The result was that the rod-end bearings did not align properly and would not turn when tightened. I realigned the front plate by tightening some nuts on a threaded rod passed through the holes. I bent the rear plate in a vise until the alignment was perfect.
I am very pleased with the assembled frame - the front boom is still very long, I will cut this when I am happy with the reach to the pedals. There are many things still to do - seat mount next. I have a carbon fibre seat from Germany.
I have a platform for painting ceilings. The underside has strengthening steel angles. I used this as a straight edge to clamp the front and rear frames in line and used some threaded rod through the pivot to set the steering angle of 63 degrees (with the invaluable help of Sarah, seen holding the protractor in the picture). I used a magnet to fix the rear frame in the correct place and drew a line at the place where I needed to cut.
You will notice that the rear frame is upside down in the photos. Thankfully I noticed my mistake before cutting and went through the whole process again to make the correct cutting marks.
The design of the rear frame has changed from the original plan. I decided to have a crosspiece so that the part of the frame under the seat is now in the centre line of the bike. This adds a bit of weight, but should increase rigidity (twisting) and make mounting the pivot and the seat easier.
When welding, the crosspiece distorted, leaving the two long pieces not parallel. This was expected. My plan was to bend the long section by hand / vise using my body weight. This did not work as the tubing is too strong (on reflection, a good thing). I therefore welded some dummy beads on the outside of the tube to deliberately distort it in the direction needed. I used low power and needed 4 beads before the desired distortion occurred. Pretty pleased that I managed to figure this out.
Tomorrow, I plan to lay out the bike in a parallel frame to finalise the angle and length to cut the rear frame end to mount the pivot plate. I will also use the opportunity to think about a seat position and mounting.
I drilled the hole for the rear wheel in the 40x20 tubing using a cheap stepped cone drill. This worked very well, much better than a standard drill which leaves a ragged hole in 1.5mm steel. I have an M12 clearance, 17mm spacer inside the tube to prevent it being crushed when the wheel nut and bolt is tightened.
With the wheel fitted, I measured for the brake mount. I made an IS caliper mount using information from this excellent site: http://www.peterverdone.com/disc-brake-mounting-systems/ Cutting out the recess where the caliper protrudes was the most challenging part of the build so far. I couldn't get an angle grinder into the recess and a Dremel was too flimsy. It took me a long time with a hacksaw and a file - the end result is functional but ugly.
I have an old 9-speed drivetrain from another bike - today I installed it to check the chainline and clearances.
I found that I had to shorten the drive side dropout tab in order to mount the wheel with the mech installed. I also had to add a washer to the mech as the hanger was too thin (5mm) and the chain was hitting the screw. After this it was all fine.
I've spent the last couple of weekends welding the front frame. I have no jig, so I've had to align the various pieces using careful measurement, magnets and temporary spacers TIG tacked on.
As usual, the distortions from welding have required a certain amount of bending and adjustment after welding, but I'm very happy with the final alignment and rigidity. The front boom / BB mount and the 40x20 cross pieces are still too long and need to be trimmed. I will also add brake mounts at some point - I'm still not sure if I will use a disc or v-brake as I had the wheels built to be able to use either.
The wheels arrived. I had them built by Ginkgo in Germany, as the single sided hub and suitable 406 rims are impossible to source in the UK. I've added 50mm Schwalbe Big Apple tyres - these are heavy, but will be the python's only suspension.
Small parts manufacture continues, today the dropouts. Information about dimensions were a little hard to find - Shimano publish standards that they recommend if you want their gears to index, but it wasn't clear if they were universal (I like SRAM kit). So I made them to the Shimano standards and here's hoping for the best. I bought the cheapest bench drill I could find. It is remarkably accurate - as long as the quill is not extended too far a 10mm hole is +/- 0.01mm, almost lathe / mill accuracy.
More welding practice - still not consistent enough.
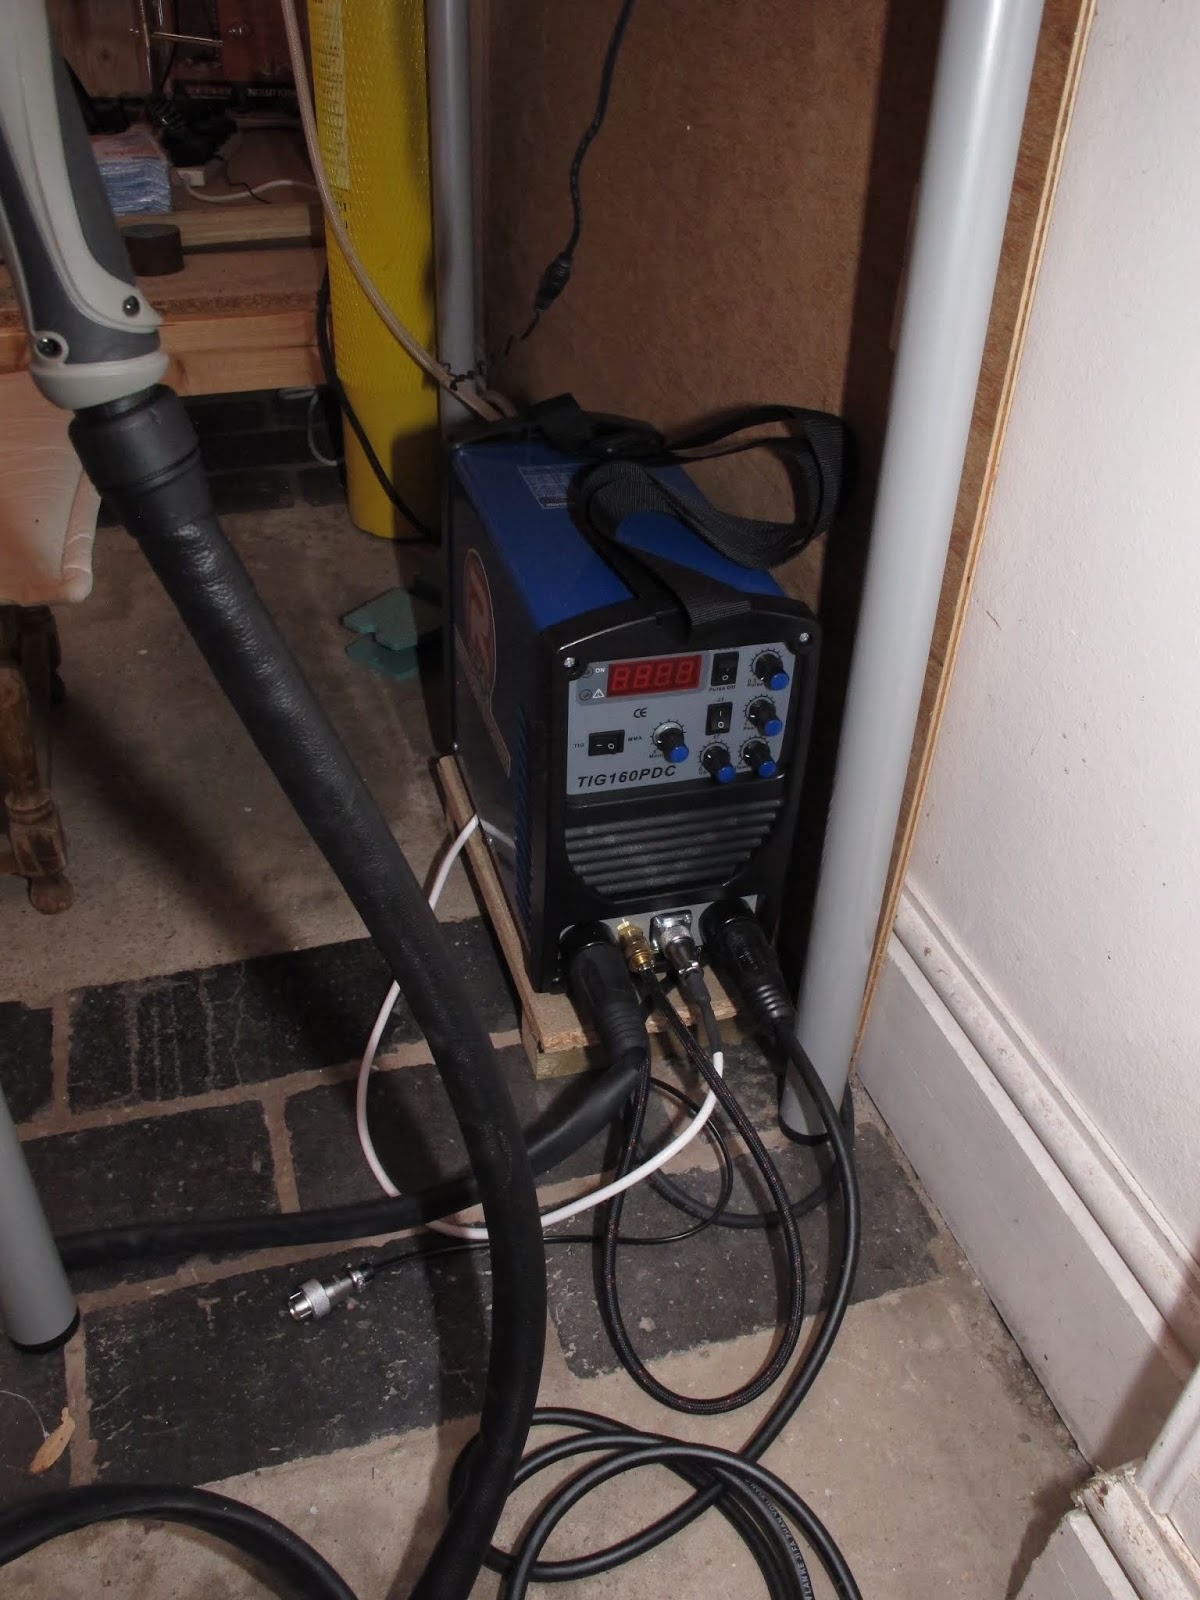
I made a holder for my TIG torch.
I decided to do some engineering while my welding skills are developing, so I made the pivot.
The pivot cosists of 2 12mm rod end (Heim) joint bearings. These are relatively cheap, so that when they wear out (as they will, because they will get wet and dirty), they can be easily replaced. They are also arranged so that the pivot angle can be adjusted ∓ 5 degrees. The steel comes from a local industrial supplier that will cut and sell small quantities and offcuts to visitors - very handy. It is 5mm mild steel. The channel section is cut from a square section. I have a week of leave in 2 weeks time - I hope to weld the front frame then.
I work full time, but today I have annual leave (holiday), so I have been practising my TIG welding. When welding the dropouts and parts of the pivot, I will need to join thick steel plate (4mm or 5mm) to thin wall tubing. Melting the plate whilst not destroying the tubing is challenging. My first efforts were, as expected, poor.
Things improved however.
I'm at the stage now where most of my welds are OK, but I still have an occasional disaster. I'm trying to become consistent, as its possible to ruin hours of work with one bad weld, or by putting too much heat in and distorting the assembly. Practice, practice...
I am sure that this design will change as the project progresses, hopefully based on comments from previous, more experienced builders.
Design principles:
Rideability
Ease of welding / alignment
Mechanical simplicity
Low weight
I will use rectangular section steel tubing and steel plate.
Front part: 30x10x1.5, 40x20x1.5, 40x40x1.5
Rear part: 40x20x1.5
Pivot: Steel plate with two Heim joints.
The wheels will be 20 inch (406) with rims for 50mm (Big Apple) tyres. The rear hub will be a Sturmey Archer X-SD tricycle drum brake hub, allowing the rear part to be single-sided. The drive will be a conventional derailleur system, initially with a Flevo bottom bracket for adjustability.
This Wiki has links to all the other resources that I found to be useful. Thank you to all the python builders who have devoted their time to document what they have done in order to make the task of those who follow so much easier.
The best resources for learning to TIG weld are to be found on Youtube. There are a large number of useful videos, which I have found to be invaluable.
The workshop is very small. It has a plastic roof, little ventilation and no heating. It is very hot in summer and very cold in winter. My steel surface for welding is small - working on assembled sections of the bike will be a challenge.
My welding machine is a cheap DC TIG machine. The pros of TIG are that there is more control on thin steel sections and it is relatively clean (no fumes) in comparison to MIG and stick.
I started cycling about 10 years ago, commuting and easy touring with my partner Sarah, who has always been a keen cyclist. About 2 years ago Sarah bought a proper road bike and joined a cycling club. A few months later I did the same. Sarah has now moved up a gear and participates in Audax cycle events of up to 600km. I, however, find that the posture of an upright bicycle does not suit me and despite many adjustments, 100km is about the longest distance that I can 'endure'. I would like to cycle further. Whilst investigating recumbent bicycles, I came across python recumbents. The idea that it was not possible to buy one of these (you have to construct it yourself) was very appealing as a project, probably as a stepping stone to constructing a more conventional recumbent. I have always enjoyed making and modifying things and am a competent bicycle mechanic. The main barriers were the lack of a suitable workspace and that I cannot weld. I have now made a workshop in a lean-to at the side of our kitchen. Progress in learning to weld to follow...